
Learning how to take pictures of yourself that look good does not need a photographer or an expensive camera. A phone, a steady place to put it, soft light and a way to press the shutter from a distance are enough. The rest is small decisions, and this guide walks through them in the order you will make them.
The method works with any phone. Where the iPhone’s own tools help, they are named, and Apple’s instructions are listed under Sources at the end. One option in Step 5 is an app that presses the shutter for you, but nothing else in the method depends on it.
What do you need to take pictures of yourself?
You need four things, and most of them are already in your home.
- A phone. Any recent one will do. The lens matters less than a clean lens, so wipe it with a soft cloth before you start.
- Something steady. A tripod is nice, but a stack of books, a shelf or a windowsill works too, as long as the phone cannot slip.
- Light. A window is the best free light source there is. Daylight from the side or front is far kinder than a ceiling lamp.
- A spot. A plain wall, a tidy corner or an open doorway gives the photo a clean background.
You also need time. Plan on about half an hour for a first session, even if you only want a handful of photos. The first few frames are almost always test shots, and that is normal.

Step 1: How do you choose your spot and background?
Start with the background, because it is the part you cannot fix by posing. Walk around with your phone and look through the camera, not at the room. A cluttered shelf that you stopped noticing months ago will shout in a photo.
Look for three things:
- A calm backdrop. A plain wall, a closed door or a simple curtain keeps attention on you. Busy patterns and bright objects behind your head pull the eye away.
- Distance from the wall. Standing a step or two in front of the wall, rather than pressed against it, keeps your shadow off the wall and separates you from the background a little.
- No lines growing out of your head. Check that door frames, lamps and plant stems do not line up with your head or neck.
Move what you can. Take the laundry off the chair, close the cupboard door, and put the mug somewhere else. A few minutes of tidying often does more for the photo than any pose.
Step 2: How do you find good light?
Light shapes how you look more than anything else in the frame. Soft, even light from the side or front is flattering. Hard overhead light carves shadows under your eyes and nose.
Use a window
Stand facing a window, or turn about 45 degrees to it, so the light falls across your face. A bright cloudy day gives the softest result, because the whole sky acts as one large, even light. Direct sun through glass is harsher. If it makes sharp shadows, hang a thin white curtain over the window or stand a little farther back.
Avoid mixed and overhead light
Turn off ceiling lights and lamps while you shoot by a window. Warm lamp light mixed with cool daylight gives skin an uneven color that is hard to correct. Light from directly above does the same kind of damage with shadows.
Mind the time of day
Early morning and the hour before sunset give a lower, warmer sun. Midday sun is the hardest. If you can only shoot at noon, stay in open shade, such as the side of a building or under an awning, rather than in direct sun.
Do not stand with your back to the window
A bright window behind you turns you into a dark shape. If you like that silhouette look, it can work on purpose. Otherwise, turn around so the window is in front of or beside you.
Step 3: How do you set up your phone?
Where the phone sits changes how you look, so set it up with some care.
Height and angle
Put the phone at about eye level for head-and-shoulders photos, or a little above it. A slightly higher camera is flattering for portraits. A camera that points up at you from below tends to emphasize the chin and nostrils. For a full-length photo, a height around your chest or waist with the phone held level keeps your proportions natural.
Keep the phone level rather than tilted. If you have to angle it to fit everything in, move it farther away instead.
Which lens
Use the main lens, usually labeled 1x. The ultra-wide lens stretches anything near the edges of the frame, which can make faces and limbs look odd at close range. A longer lens, such as 2x, flattens features a little and is a good choice for close portraits if your phone has one.
Front or back camera?
The back camera usually gives a sharper, better photo. The catch is that you cannot see the screen while you pose. The front camera lets you check your framing on screen, which makes it the easier place to start, though its picture is often a little softer.
A simple approach is to frame the shot with the front camera, take a few photos, and then switch to the back camera and repeat once you know where to stand.
Make it steady
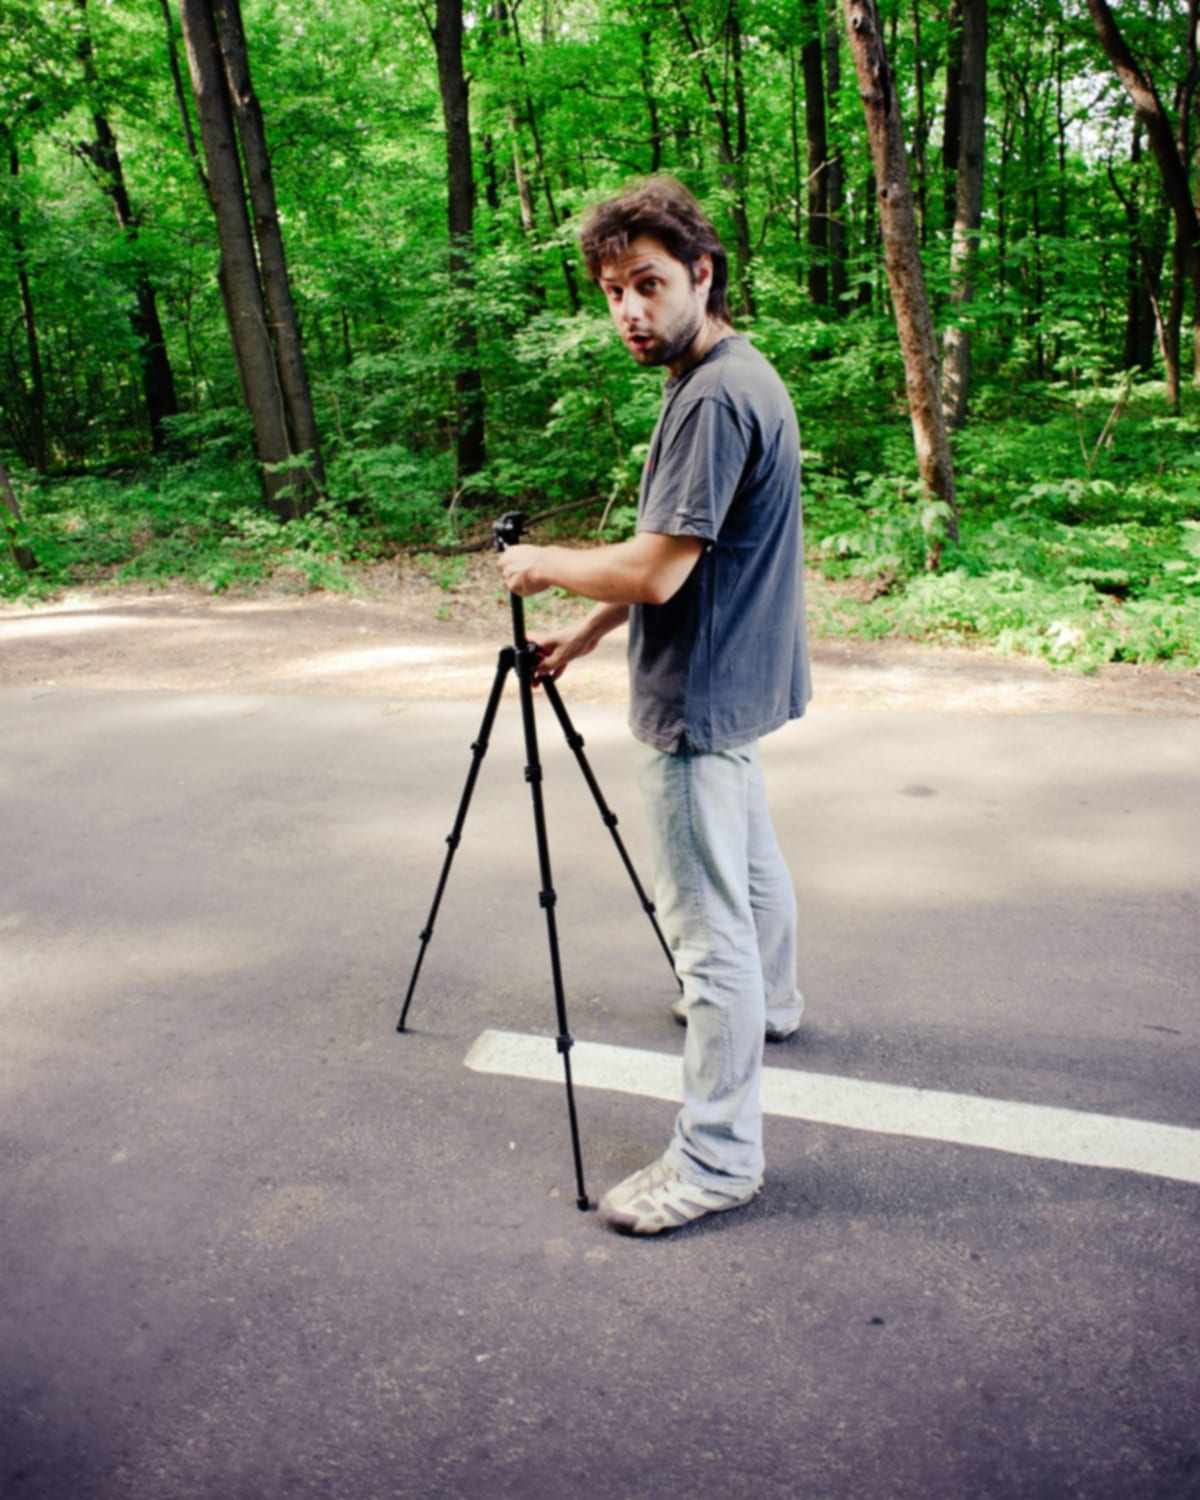
A tripod is the easiest way to get a steady phone, and the guide to taking pictures with a phone tripod covers choosing and setting one up. With no tripod, prop your phone on a shelf or a stack of books.
Press the phone against its support, and make sure it cannot slip. Check the surface for tilt. Do not balance it on a narrow ledge, a stair or anything you would be sad to see fall. If it wobbles when you walk by, add a rubber band, a folded cloth or a small piece of non-slip mat under it.
Step 4: How do you frame the shot?
Framing is the part people skip, and it is where a good photo is made. Take two minutes here before you start posing.
Turn on the grid
The iPhone Camera app can show a grid and a level. Open the Settings app, tap Camera, and turn on Grid and Level. The lines help you keep walls and doors straight and line up your eyes with the upper third of the frame. Apple describes both on its page about camera tools.
Leave room above your head
Keep a small gap above your head. Cutting off the top of the head looks like a mistake, while too much empty space makes you look small. A palm’s width of space at the top of a head-and-shoulders frame is a decent starting point.
Vertical or horizontal?
Vertical frames suit full-length photos and most portraits, and they fit phone screens. Horizontal frames suit a scene where the place matters as much as you, such as a view behind you or a doorway. Decide before you start, so you are not guessing halfway through.
Mind where the frame cuts you
Try not to crop at a joint such as the neck, elbows, wrists, knees or ankles. Cut between joints, at mid-thigh or mid-forearm, and the photo reads as deliberate.
Step 5: How do you fire the shutter without help?
This is the step that makes a self-photoshoot awkward. The phone has to be steady and away from you, yet something has to press the button. Here are the common ways, starting with the one already on your phone.
Whichever method you pick, test it once before the real shots: fire the shutter, step into place, and check that the photo looks the way you expect. It is far better to find a problem on the third frame than the thirtieth.
The Camera app’s timer
The iPhone Camera app has a built-in timer. Open Camera, tap the Camera Controls button (or swipe up from the camera modes at the bottom of the screen), then tap Timer and choose a delay. Apple’s current guide lists 3, 5 and 10 seconds, and older versions offer 3 and 10. Tap the shutter button to start it, then get into the frame.
It costs nothing and is already on your phone. The downside is the rush: you press, hurry into place, and pose in the last second. Each new countdown means walking back to the phone, so your photos come from a few hurried moments rather than a relaxed run.
A Bluetooth shutter remote
Small Bluetooth clickers are sold for phones. You pair one once, hold it in your hand or hide it, and press it when you like. Check that the one you buy is described as working with iPhone and the Camera app, and keep it out of the frame or in a closed hand. It is cheap and quick, but it is one more thing to carry and charge or keep a battery in.
Your Apple Watch
If you have an Apple Watch, the Camera Remote app turns it into a viewfinder and a shutter button for your iPhone camera. Open Camera Remote on the watch. Apple says the watch needs to be within normal Bluetooth range of the iPhone, about 33 feet (10 meters).
Frame the shot on the watch, zoom with the Digital Crown, and tap the shutter. By default the shot is taken after a 3-second timer, which you can turn off from the settings icon on the watch. The same settings let you switch between the front and rear camera.
Of the manual options, this is often the most comfortable, because you can see yourself before you press. It does need an Apple Watch.
AirPods
On supported models of AirPods and AirPods Pro, you can press the stem to take a photo in the Camera app. Apple lists which models support it and how to set it up on its AirPods page. If you already wear them, it is a free remote.
An app that presses the shutter for you
The last option removes the button altogether. ViaCamera is an iPhone app that takes the photo for you, with no timer, remote or Bluetooth clicker.
In AI-FACE mode it fires when your face is in frame and your eyes are open. In AI-BODY mode it fires when it sees you in frame. Either way, these are real photos from your iPhone camera, not AI-generated images.
You tap the shutter once to start. From there ViaCamera keeps taking photos each time it sees what the mode waits for, until you tap again to stop. You can shift your weight, turn your shoulders or change your hands between frames, and a run of photos builds up without you going back to the phone. That helps with natural expressions, because you stop thinking about the button.
To see how the two AI modes differ, read the comparison of the AI modes or the explainer on the auto shutter.
Step 6: How do you pose and move between shots?
Posing for a camera that you cannot see is a strange feeling at first. The fix is to treat it as a sequence of small changes, not one pose to hold.
Start with your feet and shoulders
Stand with your weight on one leg and turn your body slightly away from the lens, then turn your head back toward it. Squaring up to the camera with both shoulders flat makes most people look wider and stiffer.
Give your hands a job
Hands are the usual trouble. Hold a cup, rest a thumb in a pocket, touch your collar, or let one hand drift through your hair. Anything that looks like you were doing it anyway works better than hands hanging at your sides.
Mind your chin and eyes
Push your chin slightly forward and down, which defines the jawline and avoids a double chin. Look at the lens for some frames and just past it for others. A look off to the side often feels more candid than a direct stare.
Move between frames
Change one thing at a time: the angle of your shoulders, where you look, what your hands do, how big your smile is. Then shoot a few more. If you are using the timer, this means walking back to start a new countdown each time. With a remote, an Apple Watch or AirPods, you can fire again from where you stand.
Step 7: How do you review and pick your favorites?
Wait before you decide. Take a break, then go through the frames at full size, not as thumbnails.
Check these things on every frame you are considering:
- Eyes. Are they open, sharp and looking where you intended?
- Edges. Does anything odd poke out of your head, hands or hair?
- Background. Are there stray objects, a crooked line or a bright spot that grabs the eye?
- Hands and feet. Do they look natural, and are they inside the frame?
- Expression. Does the face look like you, rather than like a face being held still?
Keep the few that pass, and be ruthless with the rest. One strong frame is worth more than ten near misses.
Then make a short note of what worked: the spot, the time of day, the height of the phone and the pose. Next time, start from that setup and change one thing. Over a few sessions you will build a personal recipe that you can repeat in minutes.
What gear helps when you take photos of yourself?
You can do all of this with almost nothing. Here is a short list, from essential to nice to have.
- Essential: your phone, a clean lens, a window and a steady support.
- Very useful: a way to fire the shutter from a distance, such as a timer, Apple Watch, AirPods or an auto-shutter app.
- Helpful: a small tripod or a phone stand, a few books for propping, and a white sheet or card to bounce light back onto your face.
- Nice to have: a Bluetooth remote, a clip-on or standing light for evenings, and a full-length mirror to check your outfit before you shoot.
If you have a phone and a window, you already have enough to start.
What are the most common mistakes?
Most disappointing self-photos fail for the same few reasons. Here is what to look out for.
- Light from behind. Shooting with the window at your back leaves your face dark. Turn to face the light.
- A phone set too low. A camera below your chin makes for an unflattering angle. Raise it to eye level.
- A busy background. The room behind you matters as much as your pose. Clear it.
- A wobbling phone. A shaky support gives soft photos. Steady it first.
- Rushing. A countdown makes you pose in a panic. Slow the process down with a method that lets you take several frames in a row.
- Stopping too early. The first frames are tests, and the best ones tend to come late.
Practice a few times and these mistakes disappear quickly. If you want to go deeper on a single topic, the guides section collects more pages like this one.